87 lines
3.6 KiB
Markdown
87 lines
3.6 KiB
Markdown
|
|
## Webpack react minimal boilerplate
|
||
|
|
<p align="center">
|
||
|
|
<img alt="dependencies" title="dependencies" src="https://img.shields.io/david/hashemkhalifa/webpack-react-boilerplate.svg" >
|
||
|
|
<img alt="dependencies" title="dependencies" src="https://img.shields.io/github/last-commit/hashemkhalifa/webpack-react-boilerplate.svg" >
|
||
|
|
</p>
|
||
|
|
|
||
|
|
> Minimal webpack and react boilerplate using latest version of react and babel as well as jest and enzyme for more details about technologies used. [click](#technologies-used)
|
||
|
|
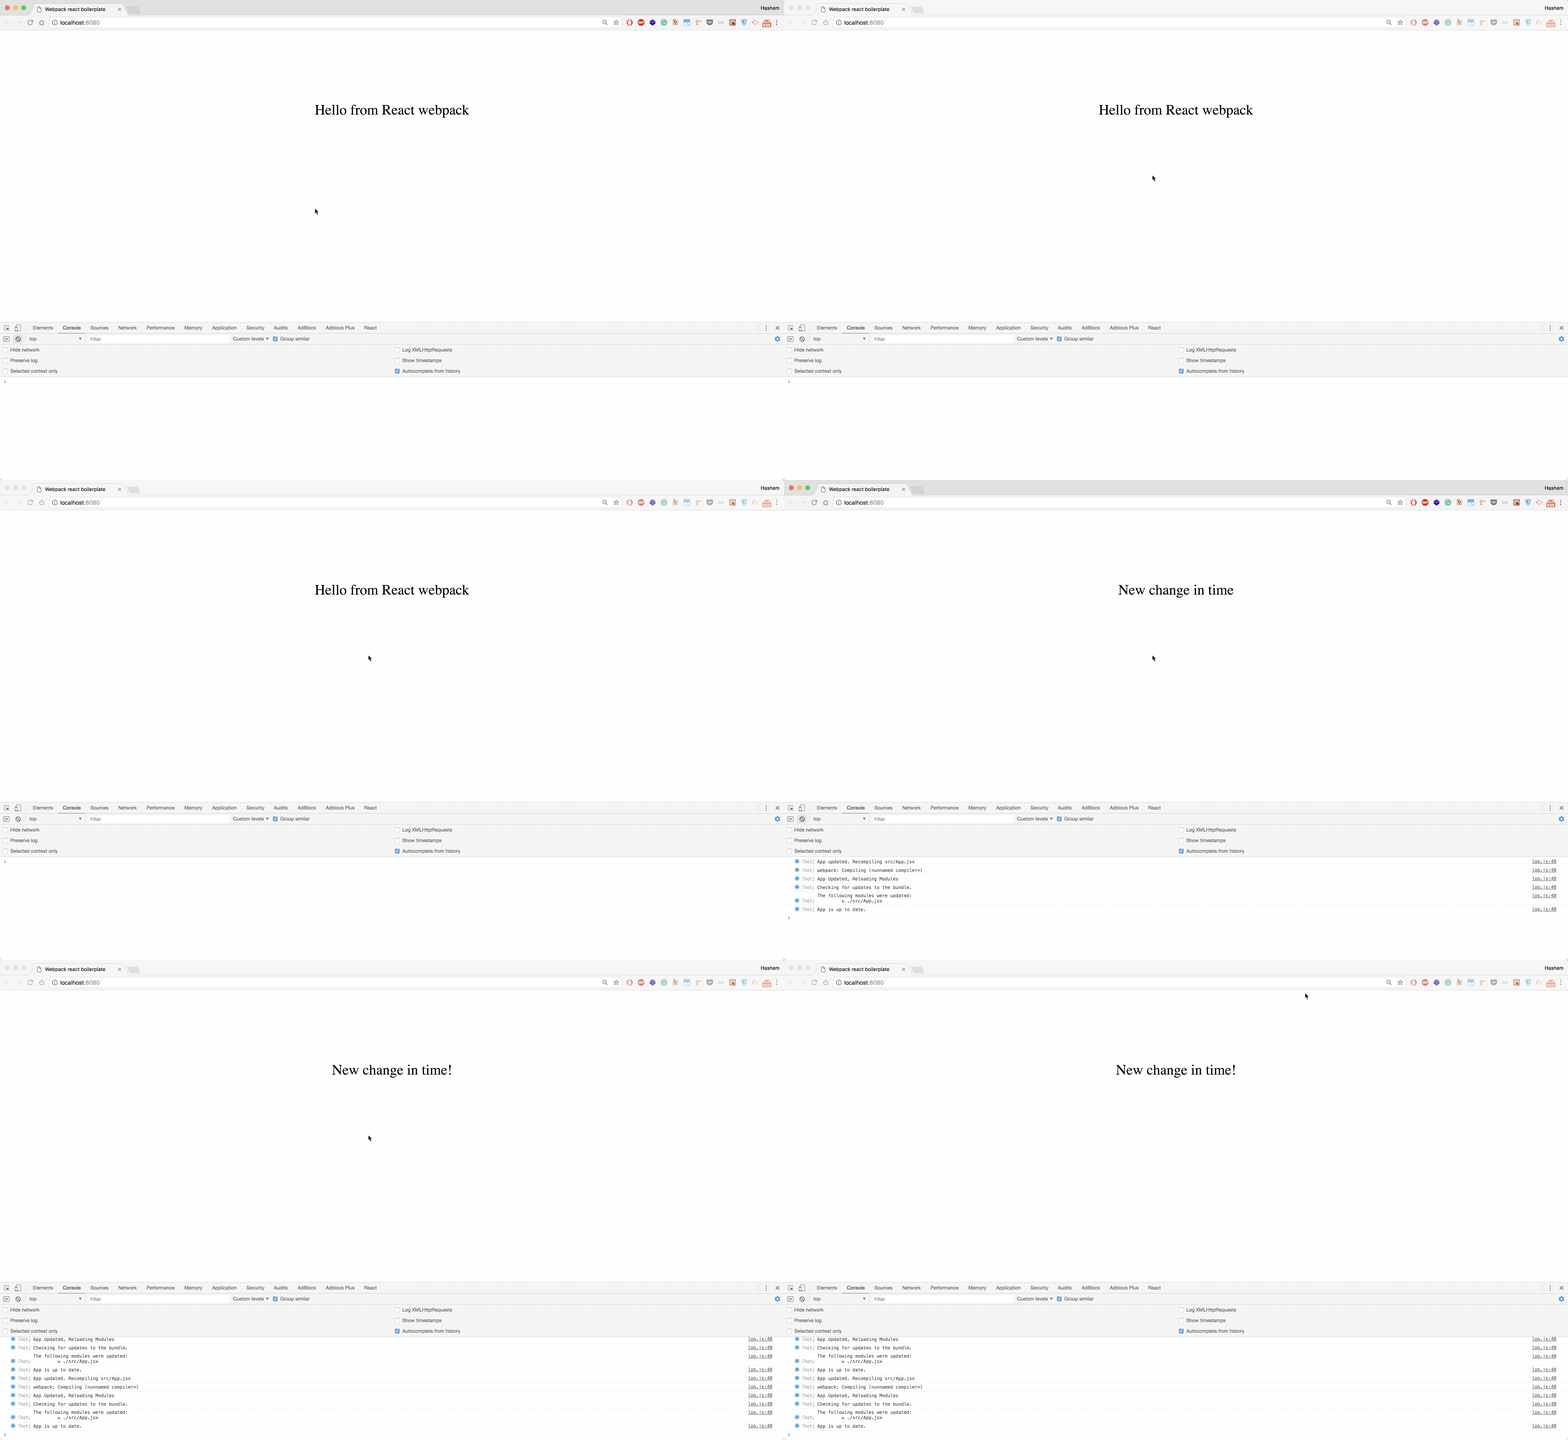
> with real time server changes ;)
|
||
|
|
|
||
|
|
> check out [Medium article](https://medium.com/@hashem.khalifa/minimal-webpack-and-react-starter-boilerplate-seriously-d90a673e134f) for more details
|
||
|
|
|
||
|
|
|
||
|
|
|
||
|
|

|
||
|
|
|
||
|
|
### Table of contents
|
||
|
|
[Project structure](#project-structure)
|
||
|
|
|
||
|
|
[Installation](#installation)
|
||
|
|
|
||
|
|
[Configuration](#configuration)
|
||
|
|
|
||
|
|
[Technologies used](#technologies-used)
|
||
|
|
|
||
|
|
### Project structure
|
||
|
|
|
||
|
|
````
|
||
|
|
build/
|
||
|
|
src/
|
||
|
|
|- index.jsx _______________________________ # Application entry
|
||
|
|
|- App.jsx _________________________________ # Application init
|
||
|
|
| |- Components/
|
||
|
|
| |- hello-world/
|
||
|
|
| |- index.jsx _______________________ # Sample component
|
||
|
|
|
||
|
|
webpack
|
||
|
|
|- paths.js ________________________________ # webpack paths needed
|
||
|
|
|- webpack.common.js _______________________ # common webpack config
|
||
|
|
|- webpack.dev.js __________________________ # development config
|
||
|
|
|- webpack.prod.js _________________________ # production config
|
||
|
|
````
|
||
|
|
|
||
|
|
|
||
|
|
### Installation
|
||
|
|
|
||
|
|
1- Clone the boilerplate repo
|
||
|
|
|
||
|
|
`git clone git@github.com:HashemKhalifa/webpack-react-boilerplate.git`
|
||
|
|
|
||
|
|
2- `yarn` or `npm install` to install npm packages
|
||
|
|
|
||
|
|
3- start dev server using `yarn start` or `npm start`.
|
||
|
|
|
||
|
|
3- build and bundling your resources for production `yarn build`.
|
||
|
|
|
||
|
|
4- Unit testing will watch all your changes in the test files as well as create coverage folder for you.
|
||
|
|
`yarn test`
|
||
|
|
|
||
|
|
|
||
|
|
### Configuration
|
||
|
|
* Webpack Config paths based on your file structure you can go to `webpack/paths.js` and modify the source and file names based on your need.
|
||
|
|
* `webpack/webpack.common.js` config common webpack for both dev and production environments.
|
||
|
|
* webpack/webpack.dev.js config webpack for dev environment.
|
||
|
|
* `webpack/webpack.prod.js` config webpack for production environment.
|
||
|
|
* `/webpack.config.js` main webpack config that merge common and webpack environment based config.
|
||
|
|
* Enzyme config `/setupTest.js` here you will have all setup for enzyme to test your component.
|
||
|
|
* Prettier config `/.prettierc`.
|
||
|
|
* Browsers list config `/.browserslistrc`.
|
||
|
|
|
||
|
|
|
||
|
|
#### Technologies used
|
||
|
|
|
||
|
|
|
||
|
|
* [Webpack 4](https://github.com/webpack/webpack)
|
||
|
|
* [Babel 7](https://github.com/babel/babel) [ transforming JSX and ES6,ES7,ES8 ]
|
||
|
|
* [React](https://github.com/facebook/react) `16.8`
|
||
|
|
* [Lodash](https://github.com/lodash/lodash)
|
||
|
|
* [Jest](https://github.com/facebook/jest) [ Unit test]
|
||
|
|
* [Enzyme](http://airbnb.io/enzyme/) for UI testing.
|
||
|
|
* [Eslint](https://github.com/eslint/eslint/) with airbnb config
|
||
|
|
* [Prettier](https://github.com/prettier/prettier) [ Code formatter ]
|
||
|
|
* [Style](https://github.com/webpack-contrib/style-loader) & [CSS Loader](https://github.com/webpack-contrib/css-loader) & [SASS-loader](https://github.com/webpack-contrib/sass-loader)
|
||
|
|
* [CSS modules](https://github.com/css-modules/css-modules) [ Isolated style based on each component ]
|
||
|
|
* [Browsers list](https://github.com/browserslist/browserslist) [ Share target browsers between different front-end tools, like Autoprefixer, Stylelint and babel-preset-env ]
|
||
|
|
* [React hot loader](https://github.com/gaearon/react-hot-loader)
|
||
|
|
* [Webpack dev serve](https://github.com/webpack/webpack-dev-server)
|